A summer drugstore makeup tutorial that is bullet-proof against heat and humidity.
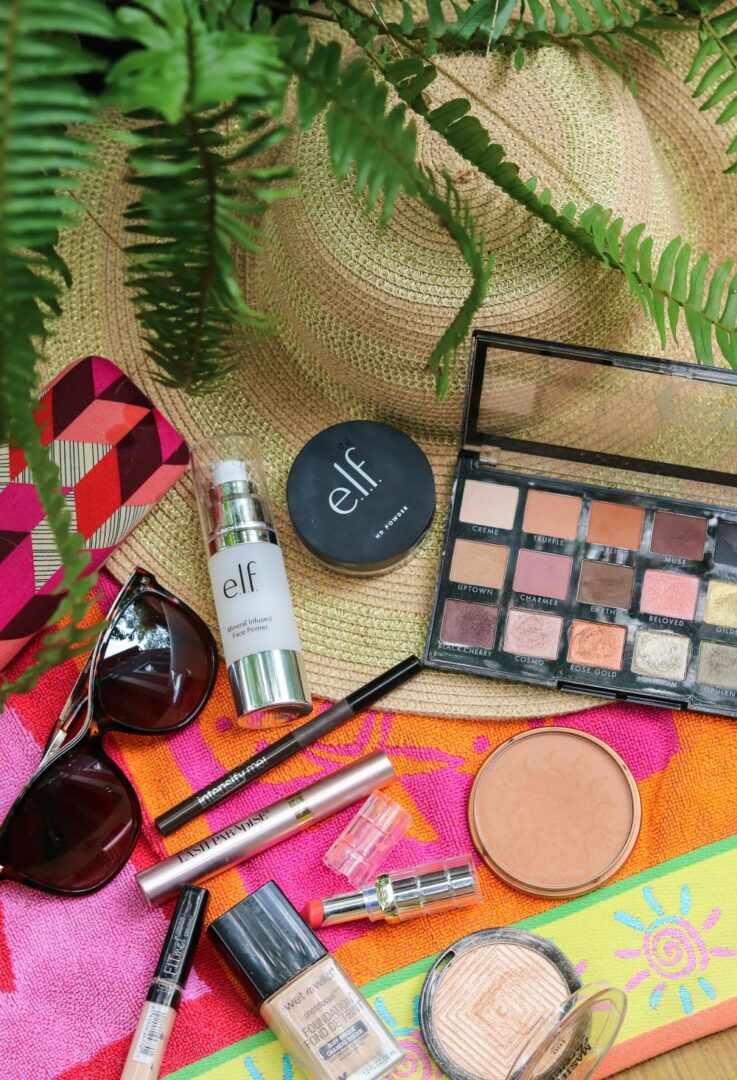
Hello there, dreamers! I hope you’re having a wonderful start to your summer thus far. Personally, I have been LOVING the warmer weather. I also even got around (finally) to stowing all my winter sweaters away. In their place? Loads of sundresses, shorts and blouses I honestly kind of forgot I own.
While sitting at my vanity this morning, it dawned on me that it’s been AGES since I last shared a makeup tutorial with you here on Dream in Lace. So that’s where this post is coming from today. Of course, it’s also a great way to share with you some of the summer drugstore makeup gems I’m keeping in heavy rotation on my face these days. (And really, who doesn’t love a good affordable makeup product?)
Humidity-Proof Summer Drugstore Makeup Look
In case you’re not aware, I live in Cincinnati — which is home to LOTS of heat and humidity during the summer months. Here in the Ohio River Valley, things get awfully sticky in the summer and finding makeup that actually lasts can be a challenge. Things simply don’t want to stay put as well as they do in the winters months and finding the right products can be tricky.
Fortunately, I have the Wet n Wild Photo Focus foundation in my life. I discovered it a couple years ago and it’s been a staple in my makeup routine ever since. I wear it throughout the entire year, but particularly in the summer months as it holds up beautifully against heat and humidity.
Atop my foundation, I tried to make this look as “glowy” and “bronzy” as possible. Given that I’m basically albino, a little bronzing is always necessary but I really kicked it up by bringing the eyes in too with today’s look.
To learn how you can recreate this summer drugstore makeup look on your own, read my step-by-step guide below!
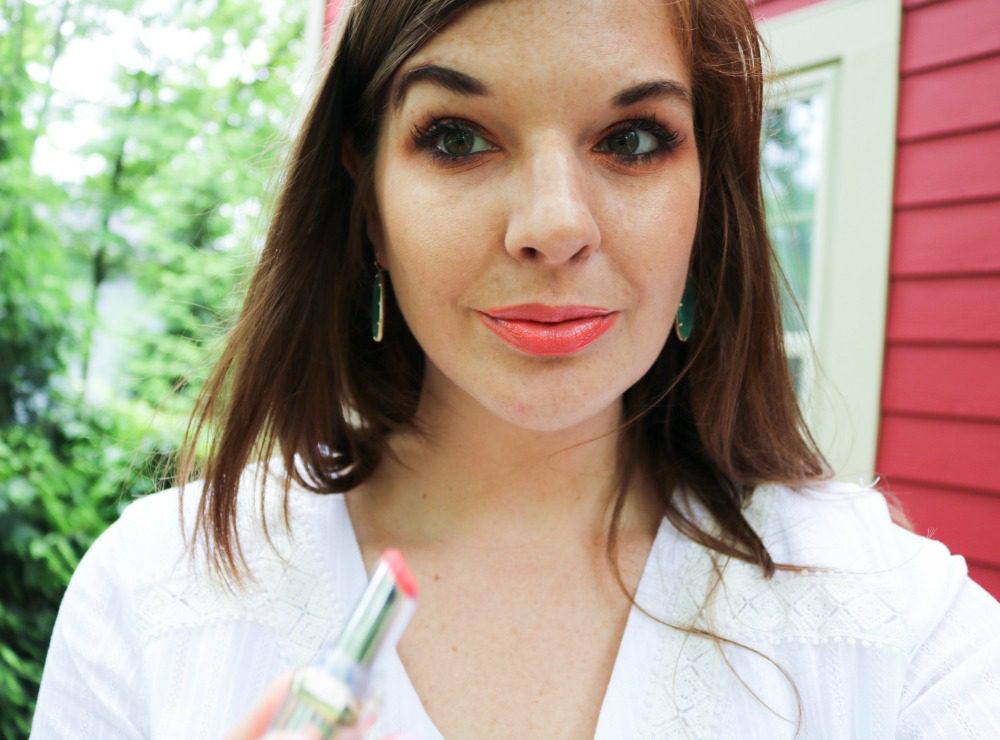
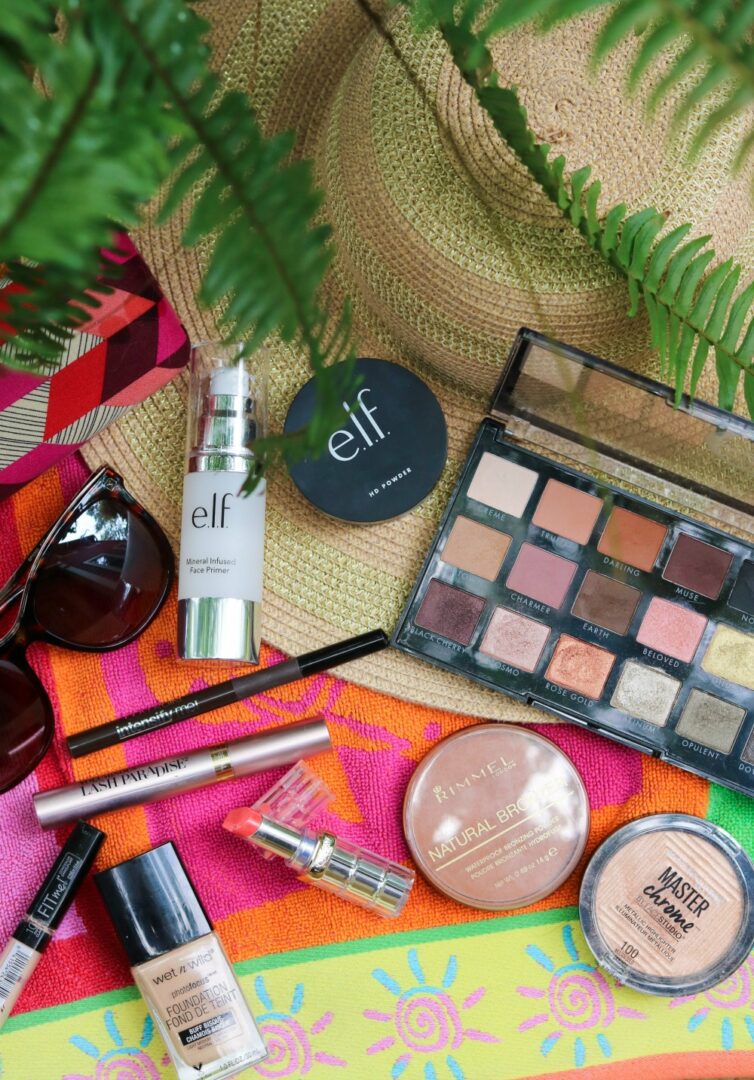
Step 1: Prime with Elf Cosmetics Mineral Infused Primer
Starting off, I applied a dime-sized amount of ELF’s fantastic mineral primer to my skin. This primer I consider to basically be a dupe for the cult favorite from Smashbox and it’s become something I truly can’t live without. Primer in the winter months is something I feel I can get skip more easily, but in the summer when the weather is hot and humid? It’s essential for keeping everything in place as long as possible.
Step 2: Apply Wet n Wild Photofocus Foundation
Following the primer, I dabbed the WnW’s Photofocus liquid foundation around my face and blended in with a Real Techniques Expert face brush. If you don’t have that, no worries any buffing brush or beauty blender will do. The key is to blend the foundation in as much as you can for as flawless a finish as possible.
The foundation has a beautiful satin finish that looks natural and creates a perfect base for this glowy look!
Step 3: Conceal with Maybelline Fit Me Concealer
Following your foundation, add concealer wherever you need it! I applied Maybelline’s Fit Me concealer at the base of my nose, under my eyes and atop a small blemish on my chin. After applying with the concealer’s applicator, I blended it all in using the same Real Techniques blending brush that I used for foundation.
Step 4: Set with ELF Cosmetics HD Powder
Setting powder is always a great way to extend the wear-time of your makeup…but particularly in the summer months! The sheer HD setting powder from ELF is my number one go-to and I apply this literally ALL over my face. It’s a translucent powder and very finely milled, so feel free to go big! I’ve had absolutely no issues with this powder turning me into a Cake face. (Think goodness!)
Step 5: Wet n Wild Eye Primer
Next up in this summer drugstore makeup tutorial? The eyes! For this look, I reached for the Wet n Wild eyeshadow primer. It has a very nice tacky finish that’s perfect for locking your eyeshadow in place!
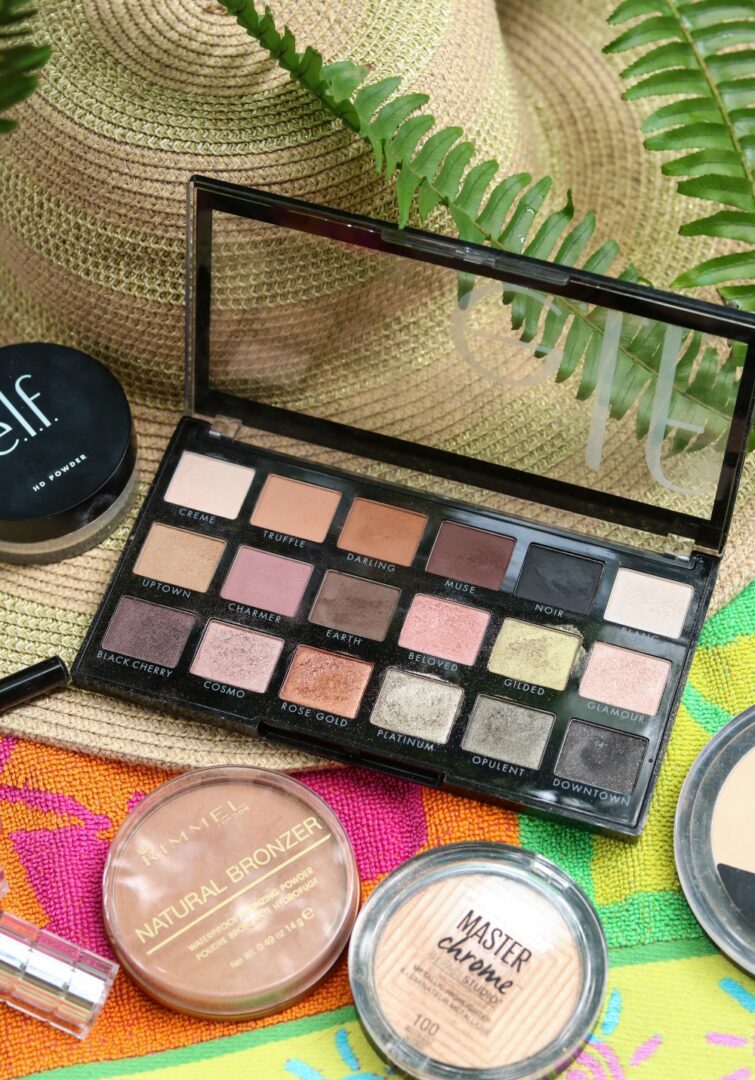
Step 6: ELF Cosmetics ‘The New Classics’ Eyeshadow Palette
For eyeshadow, I reached for my favorite “New Classics” eyeshadow palette by ELF. I reviewed this palette for you back in February (here) and seriously can’t stop using it! It’s such a fantastic buy that I continue to get so much use from. For today’s eyeshadow look, here’s what I did:
- 1. Apply the matte “Creme” shade all over the lid with a flat shading brush to neutralize your eye.
- 2. In your crease, add Darling (matte brown with orange undertones) with a MAC 217 blending brush. Build the color as you go.
- 3. Blend out the edges of the orange matte-brown Darling with the shade “Truffle”
- 4. Dampen a flat shading brush (I use MAC’s 239) and apply the rich “Rose Gold” shade all over your lid. Really build the color!
- 5. Deepen your crease by adding the matte dark-brown “Muse” shade in your outer V.
- 6. Blend everything out once more with the shade Truffle.
Lower Lash Line:
- 1. Apply Darling along the lower lash line with a blending brush
- 2. Line your lower lash line with “Rose Gold” using the same dampened flat shading brush
- 3. Using a small angled brush (MAC 266), line the outer half of your lash line with the matte deep-brown shade “Earth”
Step 7: Fill in Brows with Muse
Fortunately for me, ELF’s “The New Classics” eyeshadow palette is also great for filling in my brows. If you’re a blonde, this step might not work for you but for me…I used the shade “Muse” on a MAC 266 brush to fill in my brows. Then, I applied the matte “Creme” shade on my brown bone.
Step 8: Contour with Wet n Wild Duo
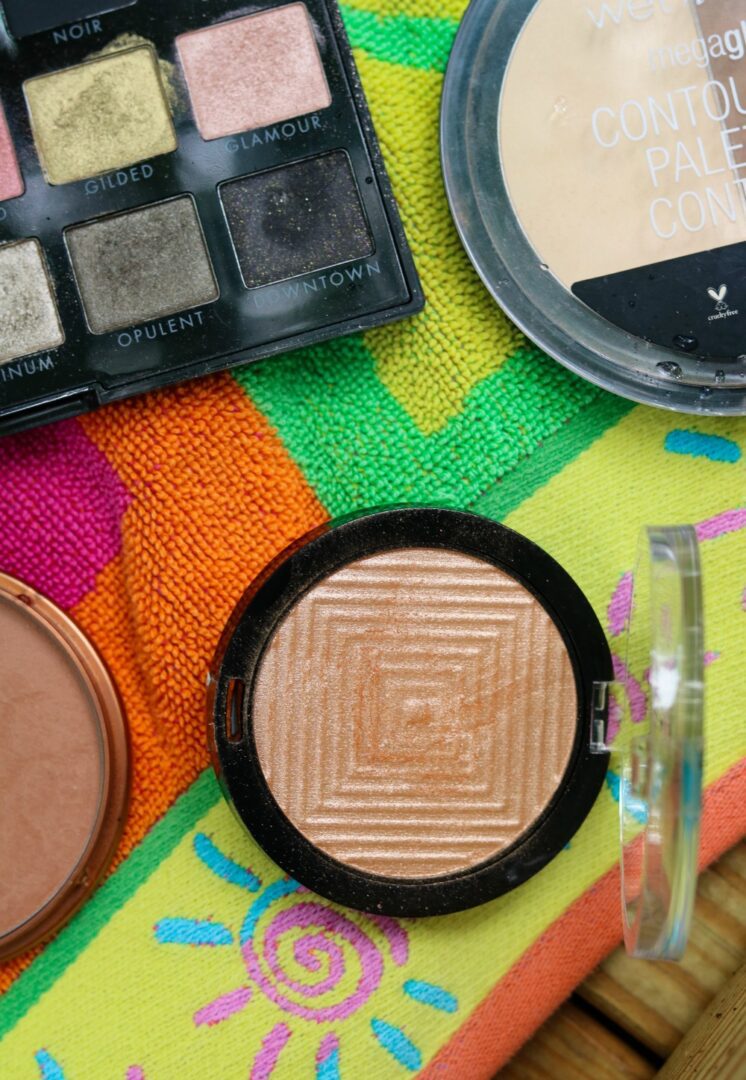
Now that we’ve made some great headway with your eyes, it’s time to bronze things up in this summer makeup look! Using a blending brush, I used Wet n Wild’s matte brown contour to define some areas of my face. I started by blending beneath my cheek bones, but also did some contouring down my nose. (I really want a nose job, but for now this will do!)
Step 9: Apply Rimmel Natural Bronzer
Skipping blush altogether, I next went in with more bronzer. I was actually going to reach for a Wet n Wild bronzer at first, but decided to mix things up by going for Rimmel’s matte Natural Bronzer. It’s actually pretty great and comes in four shades. I use the shade ‘Sunlight’ and it’s perfect for adding warmth to my complexion. Very flattering!
Apply the bronzer in the outer “3” of your face. Since we are skipping blush, go ahead apply generously at your cheekbones.
Step 10: Top Off the Cheeks with Maybelline “Molten Gold” Master Chrome Highlighter
The cherry on top of this summer drugstore makeup look is absolutely this stunning new highlighter from Maybelline!! I picked this up a couple weeks ago at Walgreens and seriously cannot stop using it. What a phenomenal highlighter! There are four shades available in total and I think I’m absolutely going to need to go back and grab the others.
I applied the highlighter atop my cheekbones as well as on the tip and bridge of my nose. This will really pull your entire look together!
Step 11: Line the Eyes with CoverGirl Intensify Me
In the home stretch, I returned to my eyes and defined my upper lash line with CoverGirl’s Intensify Me liquid eyeliner. I’ve been a fan of this eyeliner for a while now and it’s available in both black and a brown shade. For this look in particular, I actually reached for the brown. I wanted to stick with my bronze/brown tones but also thought it would be a fun change of pace. (I wear black liquid eyeliner seriously every other day of the year.)
If you like, you can do a winged cat-eye look…but for me? I prefer just a thin straight line just above my lashes.
Step 12: Apply Loreal Lash Paradise Mascara
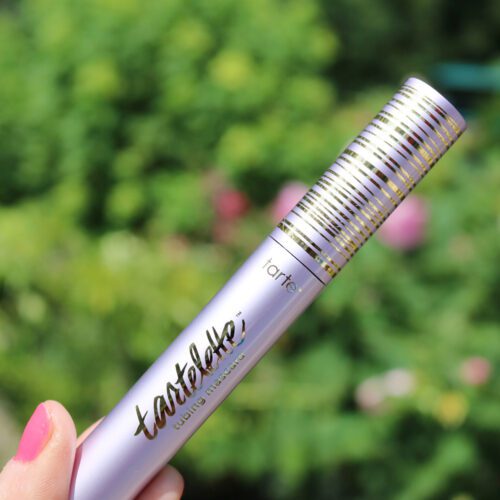
Oh goodness, I forgot just how phenomenal the Lash Paradise mascara is! I picked up a new one last month and have fallen in love with it all over again. It’s definitely a dupe for the Too Faced Better than Sex mascara and really lengthens and volumizes my lashes.
Another bonus of this mascara? It does not smudge around. I’ve even NAPPED with this on and woken up with everything still where it should be. This makes it a great one to have in the summer months when the temps are scorching!
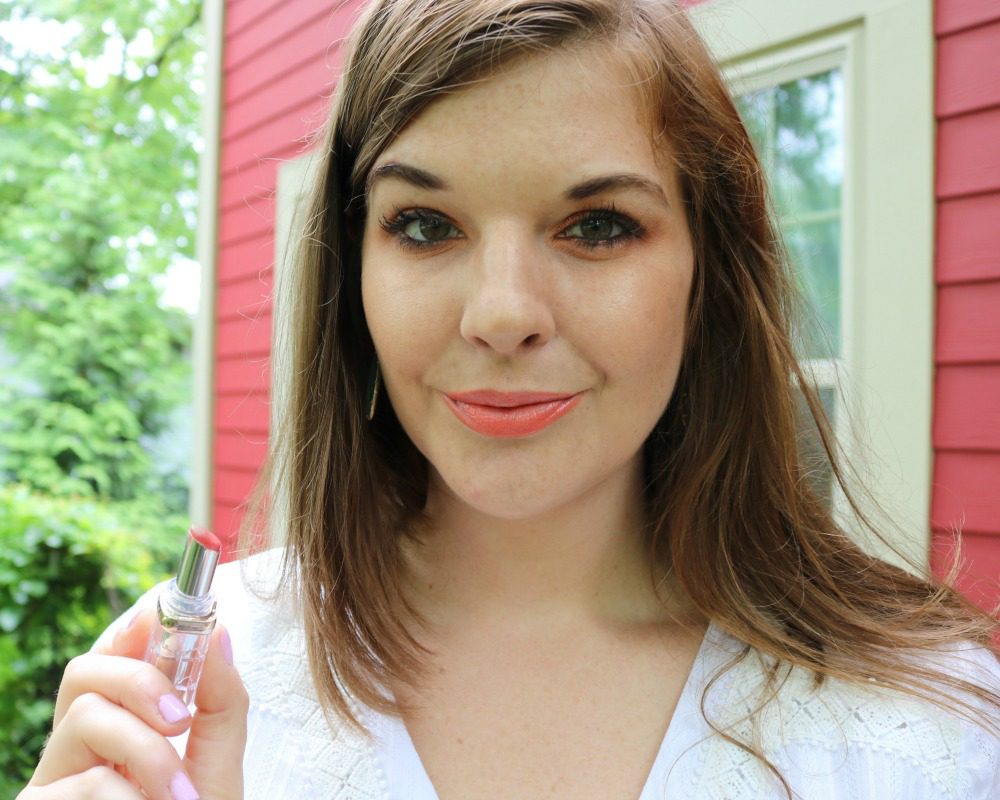
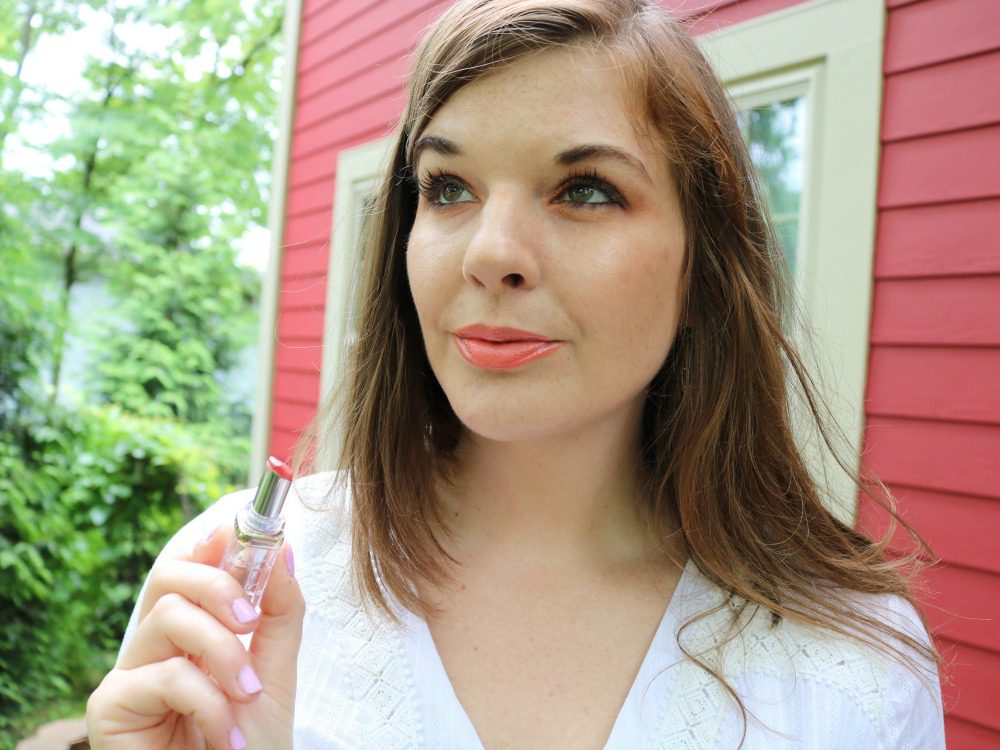
Step 13: Pucker Up with Loreal Colour Riche Shine Lipstick
Last, but not least, comes the lipstick! I’m one year on with these Loreal Colour Riche shine lipsticks and I still love them every bit as much as last year when I first discovered them. In fact, I love these so much I have DUPES of them because I seriously can’t live without them. I have my stash at my vanity and another stash that I cart around with me in my purse.
In this summer drugstore makeup look in particular, I’m using the shade Luminous Coral (916) and it’s absolutely stunning. I wanted to reach for something orangy to compliment my eyes and this more than fits the bill. Very soft and smooth on the lips – with quite a bit of pigment. Gorgeous!
Thank you oh so much for reading! I hope you enjoyed this summer drugstore makeup look and if you give it try – I’d love to know what you think. Please know, all of the products used today are tried and true favorites of mine – and all purchased with my own money. If you’d like to pick any of them up, I’ve linked everything for you below. Note, some of the links are commissioned affiliate links.
Shop the Post
CoverGirl Intensify Me Eyeliner ($6.49)
ELF Cosmetics HD Translucent Setting Powder ($6)
Elf Cosmetics Mineral Infused Face Primer ($6 – $10)
ELF Cosmetics New Classics Eyeshadow Palette ($14)
Loreal Colour Riche Shine ‘Luminous Coral’ Lipstick ($7.99)
Loreal Lash Paradise Mascara ($9.99)
Maybelline Fit Me Concealer ($5.99)
Maybelline Master Chrome Highlighter in ‘Molten Gold’ ($7.49)
Rimmel Natural Bronzer ($5.49)
Wet n Wild MegGlo Contour Duo ($5.49)
Wet n Wild Eyeshadow Primer ($3)
Wet n Wild Photo Focus Foundation ($6.49)
Like this Post?
Join the Dream Squad
Sign up for my weekly newsletter to receive exclusive dreamer content you won’t find on Dream in Lace straight in your inbox. Let’s be dreamers, together!
Stay stylish and chase your dreams!
XOXO
Kelly
TWITTER * INSTAGRAM * FACEBOOK

I love the photos!! I haven’t really been wearing any makeup, especially in warmer weather!! xx
http://zoe-ware.com
Aw, glad you like the photos! It was actually RAINING when I took these. I just decided to go for it when it lightened up but showed no signs of stopping…ha!
I agree, it’s definitely good to let your skin breathe! That’s for sure me on the weekends. xo